Inspection Services Provided

3D Laser Scanning of Defects on Structures
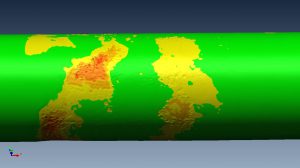
Laser scanning is faster and safer than pit gauges or ultrasonic testing for geometric defects such as corrosion and mechanical damage. We use the most accurate scanner available for these assessments.

External Corrosion on Pipelines
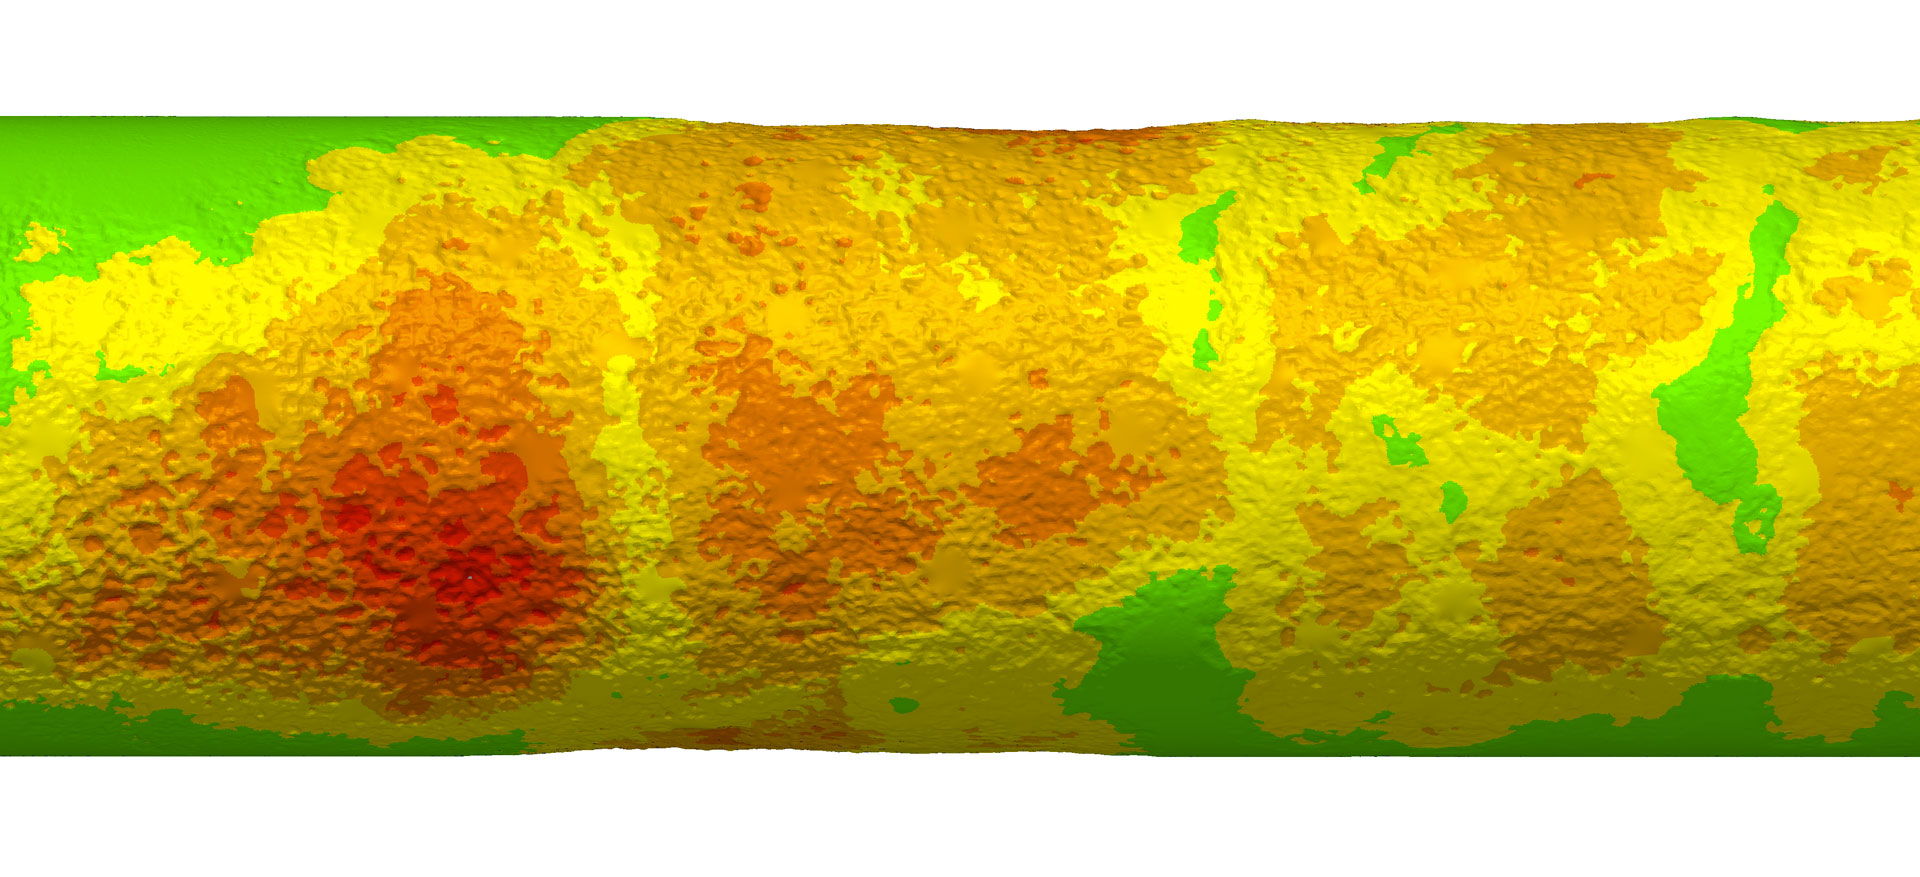
Advanced corrosion analysis and fit for service (FFS) assignments can be performed on straight pipelines and bends. Our method is faster, more accurate and safer than others available.

Mechanical Damage Assessments
Evaluation of mechanical damages is safer and more accurate with 3D technologies. Strain estimation is more repeatable and more information can be recorded safely to predict fatigue and failure.
Fully adapted to your current process
Code Compliant
The laser scanning method has been used successfully over the years with different codes such as ASME B31.G and ASME B31.8. 3D scanned datasets are so high in resolution and accuracy that they can be resampled and organized to fit requirements of most national codes.
Universal Formats and Technology
We work with many standard file formats such as STL, OBJ and point clouds. Consequently, we can import and process 3D data made from any 3D recording instrument. Results can be delivered in Excel, 3D colormaps and many other custom formats.
FREE Integration with your Analysis Software Program
Based on specific requirements, we adapt our results to fit company owned software, should you require an easy way to import our data in your analysis software program.
What makes us different is what we can do
Corrosion on Bends
Challenge: The pipeline is bent and corroded. Manual tools fail to deliver accurate results and are time consuming to use.
Our Solution: The pipeline shape is recorded with a 3D laser scanner and sent for analysis. The bend curve is compensated virtually and a set of conservative tools runs through the pipe surface to generate a grid of deepest points. The grid is then used for burst pressure evaluation.


General or Heavy Corrosion Evaluation
Challenge: General external corrosion on pipelines is problematic because UT is not reliable for pit measurements and pit gauges don't have trusted contact surfaces to properly measure corrosion.
Our Solution: Integration of 3D scanned data with other NDT technologies allows for accurate measurements of pit depths and account for smooth thickness variations.
Corrosion on Pipe Wrinkles
Challenge: The pipeline has wrinkles, probably caused during the bending process. While wrinkles are more apparent on cold bends, they can still cause problems on hot bends and offset measurements from a manual tool.
Our Solution: Specialized mathematical tools fully compensate for wrinkles and allow a direct reading of corrosion pits on the pipe surface.
Bent Pipeline with Wrinkles

Analysis without Compensation

Compensated Wrinkles


